
In this article, will see how to how to implement BottomNavigationView in our Android Project. BottomNavigationView displays Bottom navigation bar with menu in the app that helps users to navigate between views with single tap.

BottomNavigationView can be used by adding design support library dependency into your app. Bottom Navigation View was added to design support library in version 25. It comes with callback method setOnNavigationItemSelectedListener(), that sets a listener to get notified when a bottom navigation item is selected or clicked. While implementing setOnNavigationItemSelectedListener(), we also need to implement the overriding method onNavigationItemSelected().
app:itemBackground – The background color to be used for the bottom navigation menu.
app:itemIconTint – The tint to be used for the icons in the bottom navigation menu.
app:itemTextColor – The color to be used for the text in the bottom navigation menu.
app:menu – The menu resource to be used to display items in the bottom navigation menu.
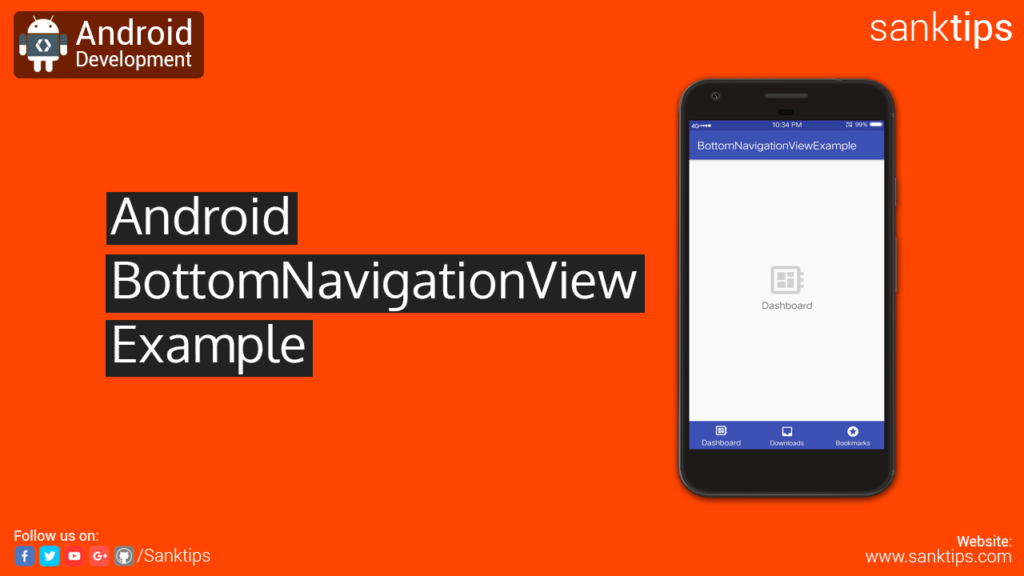
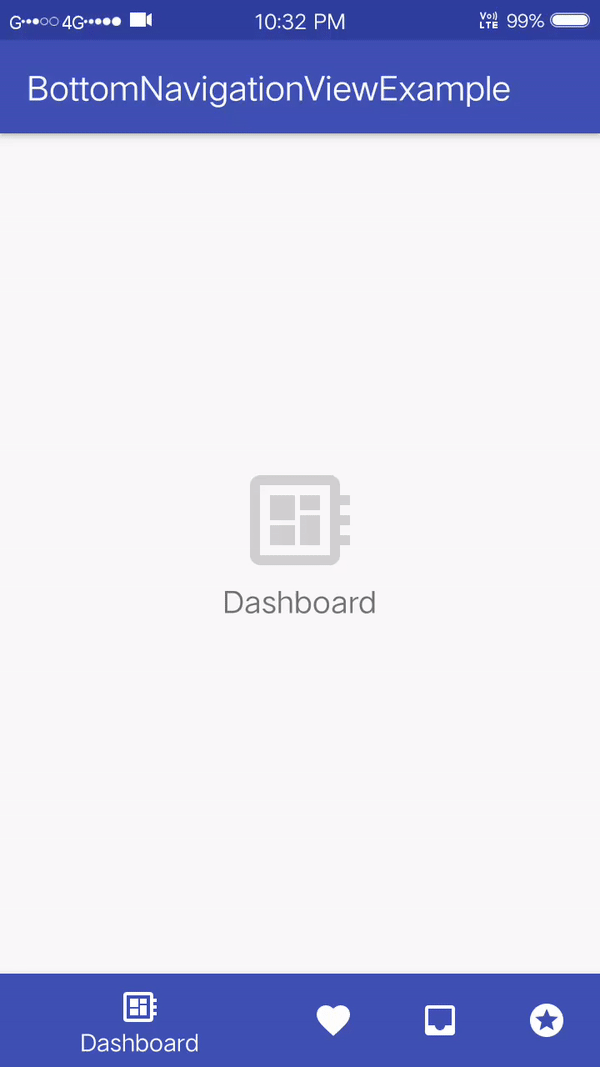
Final Output
Steps and Source code for implementing BottomNavigationView:
– First Create a new Project BottomNavigationViewExample.
– Create an empty activity i.e MainActivity.
– Add the following dependency to your apps build.gradle file and Sync the project.
dependencies {

    implementation 'com.android.support:design:27.1.0'

}
– Now Add BottomNavigationView widget to your MainActivity layout file i.e activity_main.xml
activity_main.xml file:
<?xml version="1.0" encoding="utf-8"?>
<RelativeLayout xmlns:android="http://schemas.android.com/apk/res/android"
xmlns:app="http://schemas.android.com/apk/res-auto"
xmlns:tools="http://schemas.android.com/tools"
android:layout_width="match_parent"
android:layout_height="match_parent"
tools:context=".MainActivity">

    <ImageView
    android:id="@+id/iconView"
    android:layout_width="72dp"
    android:layout_height="72dp"
    android:layout_centerHorizontal="true"
    android:layout_above="@+id/txtView"
    app:srcCompat="@drawable/ic_dashboard"
    tools:ignore="VectorDrawableCompat" />

    <TextView
    android:id="@+id/txtView"
    android:textSize="18sp"
    android:layout_width="wrap_content"
    android:layout_height="wrap_content"
    android:layout_centerInParent="true"
    android:text="Dashboard" />

    <android.support.design.widget.BottomNavigationView
    android:id="@+id/bottomNav"
    android:layout_width="match_parent"
    android:layout_height="wrap_content"
    android:layout_alignParentBottom="true"
    android:layout_centerHorizontal="true"
    android:background="@color/colorPrimary"
    app:itemBackground="@color/colorPrimary"
    app:itemIconTint="@android:color/white"
    app:itemTextColor="@android:color/white"
    app:menu="@menu/navigationmenus"/>

</RelativeLayout>
– We need to create menus that are to be shown in Bottom Navigation bar.
– Create a Menu folder by right clicking on res folder, New and then click on Android Resource Directory. Click on drop down of Resource Type option and select menu, click on OK button.
– Right click on Menu folder, New and then click on Menu Resource File. Enter filename i.e navigationmenus.xml and click on OK button.
– Then add menu items to navigationmenus.xml as shown below.
navigationmenus.xml file:
<?xml version="1.0" encoding="utf-8"?>
<menu xmlns:android="http://schemas.android.com/apk/res/android">

    <item
    android:id="@+id/nav_dash"
    android:icon="@drawable/ic_dashboard"
    android:title="Dashboard" />

    <item
    android:id="@+id/nav_favourite"
    android:icon="@drawable/ic_favorite"
    android:title="Favourite" />

    <item
    android:id="@+id/nav_downloads"
    android:icon="@drawable/ic_downloads"
    android:title="Downloads" />

    <item
    android:id="@+id/nav_bookmark"
    android:icon="@drawable/ic_bookmark"
    android:title="Bookmarks" />

</menu>
– Now, In our MainActivity class we will add BottomNavigationView code into our onCreate() method.
– First initialize BottomNavigationView and then set the event listener setOnNavigationItemSelectedListener() method.
– setOnNavigationItemSelectedListener() comes with an override method called onNavigationItemSelected() which helps to identify when user clicks on menu item.
– We will be using switch statement to identify the menu click by its ID.
MainActivity.java file:
package com.sanktips.bottomnavigationview;

import android.annotation.SuppressLint;
import android.support.annotation.NonNull;
import android.support.design.internal.BottomNavigationMenu;
import android.support.design.widget.BottomNavigationView;
import android.support.v7.app.AppCompatActivity;
import android.os.Bundle;
import android.view.MenuItem;
import android.widget.ImageView;
import android.widget.TextView;

public class MainActivity extends AppCompatActivity {

    ImageView mIcon;
    TextView navViewTxt;

    BottomNavigationView mbottomNavigationView;

    @Override
    protected void onCreate(Bundle savedInstanceState) {
        super.onCreate(savedInstanceState);
        setContentView(R.layout.activity_main);

        mIcon = (ImageView) findViewById(R.id.iconView);
        navViewTxt = (TextView) findViewById(R.id.txtView);

        mbottomNavigationView = (BottomNavigationView) findViewById(R.id.bottomNav);
        mbottomNavigationView.setOnNavigationItemSelectedListener(new BottomNavigationView.OnNavigationItemSelectedListener() {
            @SuppressLint("ResourceType")
            @Override
            public boolean onNavigationItemSelected(@NonNull MenuItem item) {

                switch (item.getItemId()){
                    case R.id.nav_dash:
                        mIcon.setImageDrawable(getResources().getDrawable(R.drawable.ic_dashboard));
                        navViewTxt.setText("Dashboard");
                        return true;

                    case R.id.nav_favourite:
                        mIcon.setImageDrawable(getResources().getDrawable(R.drawable.ic_favorite));
                        navViewTxt.setText("Favourite");
                        return true;

                    case R.id.nav_downloads:
                        mIcon.setImageDrawable(getResources().getDrawable(R.drawable.ic_downloads));
                        navViewTxt.setText("Downloads");
                        return true;

                    case R.id.nav_bookmark:
                        mIcon.setImageDrawable(getResources().getDrawable(R.drawable.ic_bookmark));
                        navViewTxt.setText("Bookmarks");
                        return true;

                }

                return false;
            }
        });

    }
}
– So, we are done with the implementation of BottomNavigationView. Run the project to see the result.
Hope you find this article helpful. Join us on Facebook, Twitter and Google+ to get more updates on Android Development Tutorials.